Saturday, April 25, 2015

Overdue Update

Life gets pretty busy sometimes so I do not have all the free time I need to keep up with this blog.


One of many projects with the car I have been working on is getting the car ready for a painter to take over and get the sheet metal straight and shot with color. My part in this endeavor includes making all the custom changes I want such as side marker deletions, antennae delete, side “Mustang” emblem delete.  Included in the sheet metal fab work I have done is installing both new rear quarters, installing 2” oversized inner wheel houses, removing and squaring up the outer wheel houses to facilitate larger tires being tucked up inside the fenders.  Tailoring the rear panel with key-hole delete and also to accommodate an aftermarket gas cap instead of the original pop open gas cap.  Fabbing up a cable and mechanism to remotely pop open the trunk from the cockpit.  Custom fitting the hood with the 2012 Mustang hood scoop, and also smoothing or shaving the engine bay to remove unsightly holes and seams.   These are most of the cosmetic sheet metal changes that will be apparent to the casual observer, but there are several other changes I have made and will be making over the course of this build. 

Another part of the sheet metal work I am doing is to remove all the rust and I have been working steady on that as well, fixing small areas with patches.  Besides the floor pans and lower quarters, there was not too much rust on this old car considering how long it had been sitting outside in the elements. After I remove all the paint which includes two repaints of red and the original white, I have been prepping the metal and shooting it with an epoxy primer to seal it so no new rust forms.  While removing the paint layers I have also been removing any and all sloppy body work.  Actually there was not much bodywork to remove as there was really not much previous damage to the vehicle.  The car had been hit once on the left quarter and I cut this panel off to replace with a new one so there was no bodywork to remove there.  Also all the loose body parts were clean and free of any bodywork or repairs so it was only a matter of sanding off the three paint layers to get to the bare metal.  They have a few minor dents and dings from over 40 years of life.  Once bare, they are coated with epoxy primer as well to stifle any new rust growth.

Sheet Metal Work on the Fenders


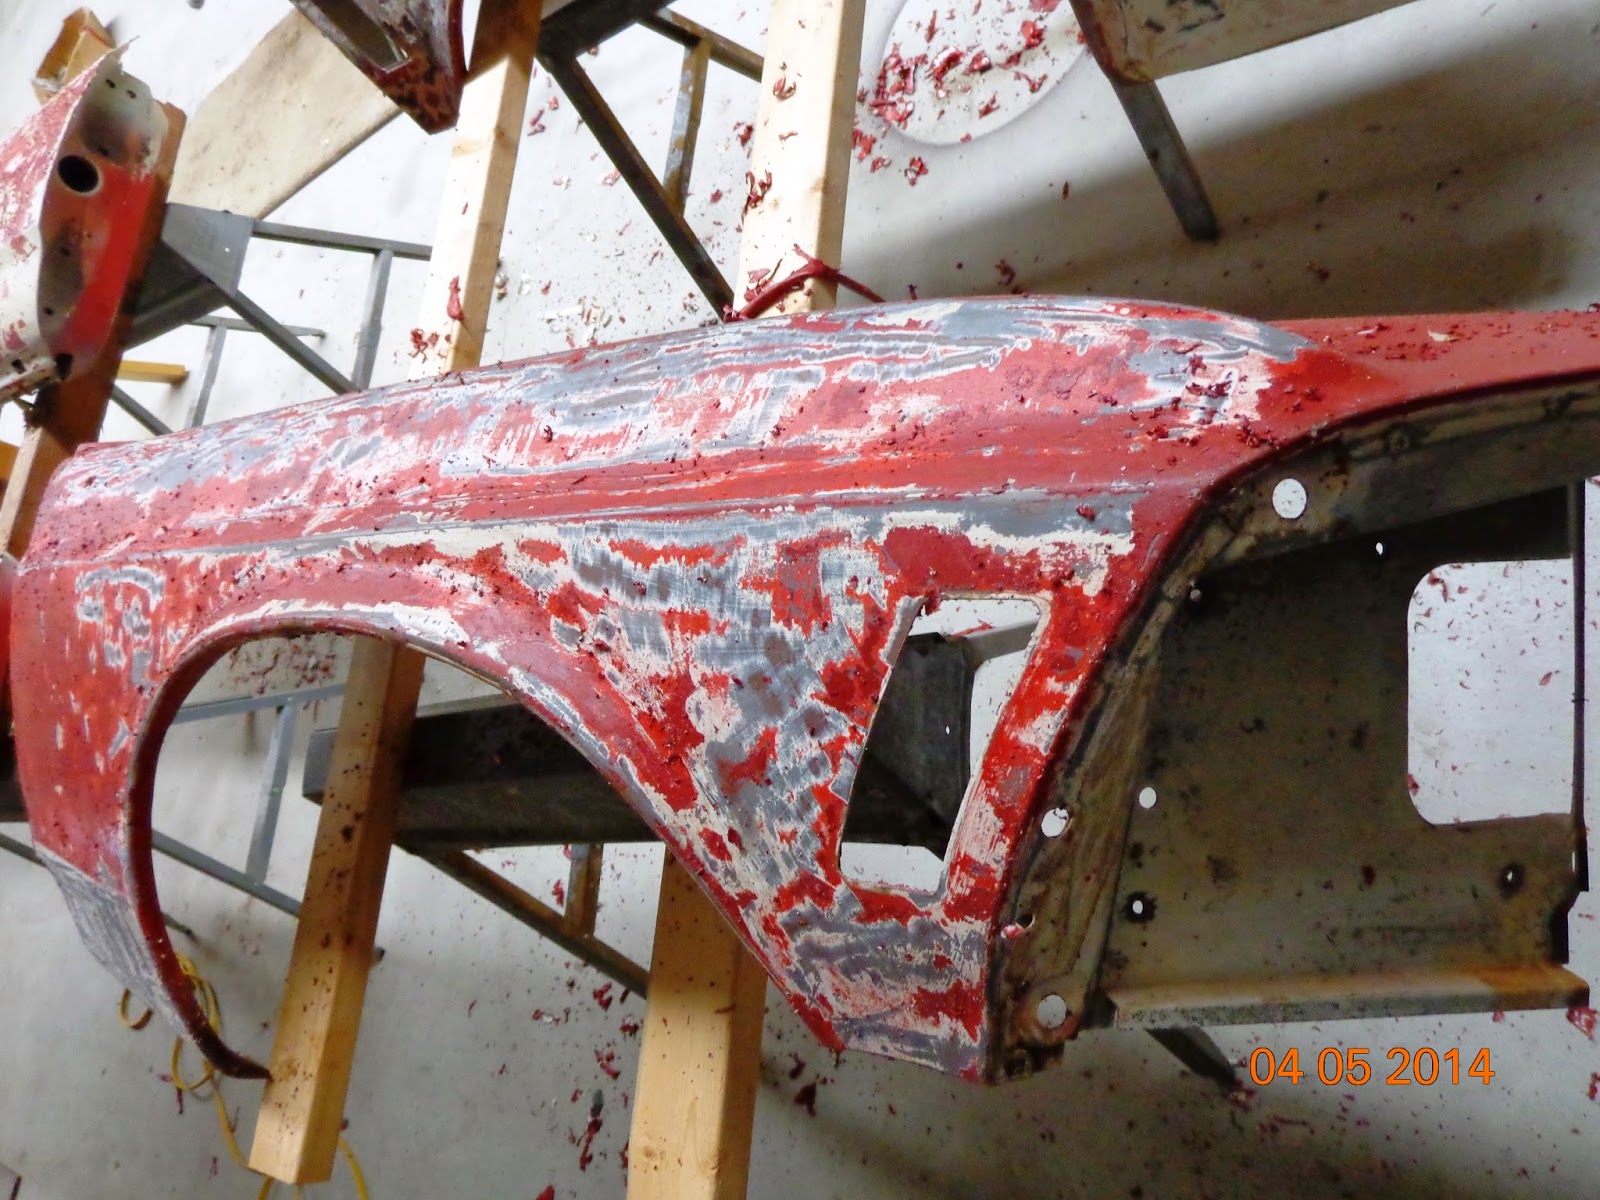
After I stripped the original paint and two repaints off the fenders, I cut pieces to fill in the side marker lights and the antennae hole.  I welded in these patches and also welded closed the “Mustang” emblem mounting holes on the fenders to eliminate any unwanted distractions in the lines of the vehicle.   After I filled the holes, I applied metal prep to etch the sheet metal and I shot the fenders with an epoxy primer to seal them.   (All of these things were supposed to have been done by the used car salesman I hired and paid in advance to do.)  He never did any of it.

Here you can see a dated picture where I was stripping the original paint along with two layers of red repaint.  All of which I had payed the used car salesman todd watkins to do and he never did. 
He stole my money.

Paint is stripped here, both fenders are stripped then I started filling holes.

Just wanted to see what it looked like sitting on the car, it's been awhile.

 Side marker hole that was supposed to be filled by the used car salesman who was paid in advance, but he stole my money.
 
Same thing here.

Plug I cut is in place and ready to weld in.


Started the job of welding the plug in place.  Both sides completed.  Along with other trim holes I will not be using including the antennae hole.

Friday, June 6, 2014

Beginning some of the sheet metal work--May 2014

Since there are three coats of paint on this old beast I decided it best to rid the sheet metal of all layers.  The original Wimbledon White, one coat of an Orange/Red, and another coat of Bright Red.  Of course just like about  any  other 44 year old car there is going to be a few bruises along the way that need ironed out.   Also I plan on deleting the side marker lights and antennae so I will be welding patches in place of the holes on the fenders.  I have already welded in place two new quarter panels and they will need some smoothing as well by a "real" body and paint person.

My plan with the sheet metal is to strip all the paint, rust and otherwise junk from all the metal, clean and prep, then shoot with an epoxy primer.  This will allow my paint guy to see all the dents and dings he needs to fix to make it straight while keeping it rust free.

I'm just getting started on this process so it will take me awhile as I do not get a lot of opportunities to work on the car.  Here are a few pictures of the work I have done recently.  Just getting the roof and both fenders ready before I mix up any primer.  I still need to weld in the patches for the side marker lights and clean up the second fender.


Roof, in the process of being stripped.

Fenders, Doors, odds n ends in process

Roof stripped and metal prepped

Roof stripped and metal prepped

Driver's fender in process of stripping

Driver's fender stripped and metal prepped, still in need of a patch to over that side maker light.

Tuesday, May 6, 2014

408 Cleveland

  It is finished now, ready to bolt on all the goodies and put in the car.  Here is a picture of the engine without all the peripherals.  I need to spend some time on this just to bolt on a few things but it is quite a ways off until I need it in the car.  There is a lot of sheet metal work to do for paint before the engine goes in.  I'll have more pics of the engine coming soon. 

All machine work done by Jerry Wilson at Chet Wilson Engine Service


Heads
 ·         4V factory iron Closed Chamber heads
·         Decked
·         Harland Sharp Roller Rockers
·         Heads are Port matched with intake manifold and gaskets
·         Cleaned out, smoothed up exhaust ports, did not polish
·         ARP head bolts
·         Hardened valve seats
·         3 angle valve job
·         Bronze valve guides
·         New valve springs, retainers, locks and steel spring seats


Block
·         Bored .030 over, and decked
·         ARP Main Cap bolts
·         High volume oil pump with chrome moly shaft
·         Rear sump pan to clear new front end


Crank
·         9000 series stroker cast crank for 408 ci displacement
·         Dynamically balance with flywheel, clutch and damper, 28 oz. balance 


Pistons
·         Forged pistons  -16 cc dished    9.5 Compression Ratio
·         New rings (Total Seal Gapless) 

Rods
 ·         Forged I Beam 6” for 408 ci displacement
·         ARP rod bolts
 

Cam
·         Hydraulic flat cam, custom grind by Jerry Wilson
·         Double roller timing gear & chain

Intake manifold
·         Edelbrock Performer
·         Port matched with heads and gaskets
·         ARP manifold bolts
·         Holley 780 cfm       


Harland Sharp Roller Rockers

Cast Iron 4V Heads

Sunday, April 13, 2014

The James Todd Watkins scam

Since so many of you have been asking for more info on this subject, here is your answer. 

This blog is for the description, documentation and logging of events associated with the rebuild of my Mustang, I refuse to have this blog degraded with the use of a name of such scum like Todd Watkins. 

In hopes he will not be able to scam someone else, I will continue to tell everyone I meet the story of how I paid him almost $5,000 for work he never did on my car.  I have a signed contract and signed receipts of payment.   I also have two other websites dedicated to the sole purpose of telling the story of how he scammed me. "The truth"  Not his lunatic lies.   If anyone wants those web addresses and have not seen them already, just let me know and I will send them to you.