Jan 2013
Rust removal and rust protection is key when
rebuilding and old auto, it doesn’t matter what kind of car it is. There are several products out there that are
available to the consumer for rust protection, I chose to use POR15 solely
based on the opinion of others I have talked to and their experiences with previous use of the
product. This resto won’t be seeing much moisture
anyway. I plan on driving the car, but
never in any sort of weather.
We have been applying POR15 for several months now. So far the POR15 has been a great product to use,
easy, simple to apply and seemingly very efficient at what it does. We have used it almost everywhere on the car
except for outside panels that will be painted with color. The entire underside and the inside areas
have been coated, also parts that will be bolted back on have had an application
as well. We have used 1” throw away
brushes and 2” foam rollers to apply all the POR15. Larger flat areas were perfect for the foam
rollers while the smaller, tighter areas had to have brushes to complete the
coverage. It can be sprayed as well but
we were always applying as we worked in smaller areas so the brushes and
rollers fit the job more appropriately for us.
After trying to sand blast some of it off a few
parts that were mistakenly coated I am very confident that nothing that happens
in the lifetime of this car will allow any rust to rear its ugly head
again. This stuff is one very tough
product.
These are just a few of the applied areas, there are several other parts that have been coated that are waiting on their turn to be painted and put back on the car.

Inner wheel house before it was welded back in for that extra 2" of clearance for the rear tires.

Passenger side front frame rail and transmission tunnel support before floor pans were welded back in.

A-1, First Class, Master Welders. At least our hats think so!!! :)
Me and Dad

Front end coated.

Again the front.

Inside of the fire wall, and I have decided to lose the original wiring harness and go with some "Painless" copper.

Original 9" rear end. New gears though, "3.55"

Looks nice, dad must have applied this coat.

New custom outer wheel house and trunk close out.
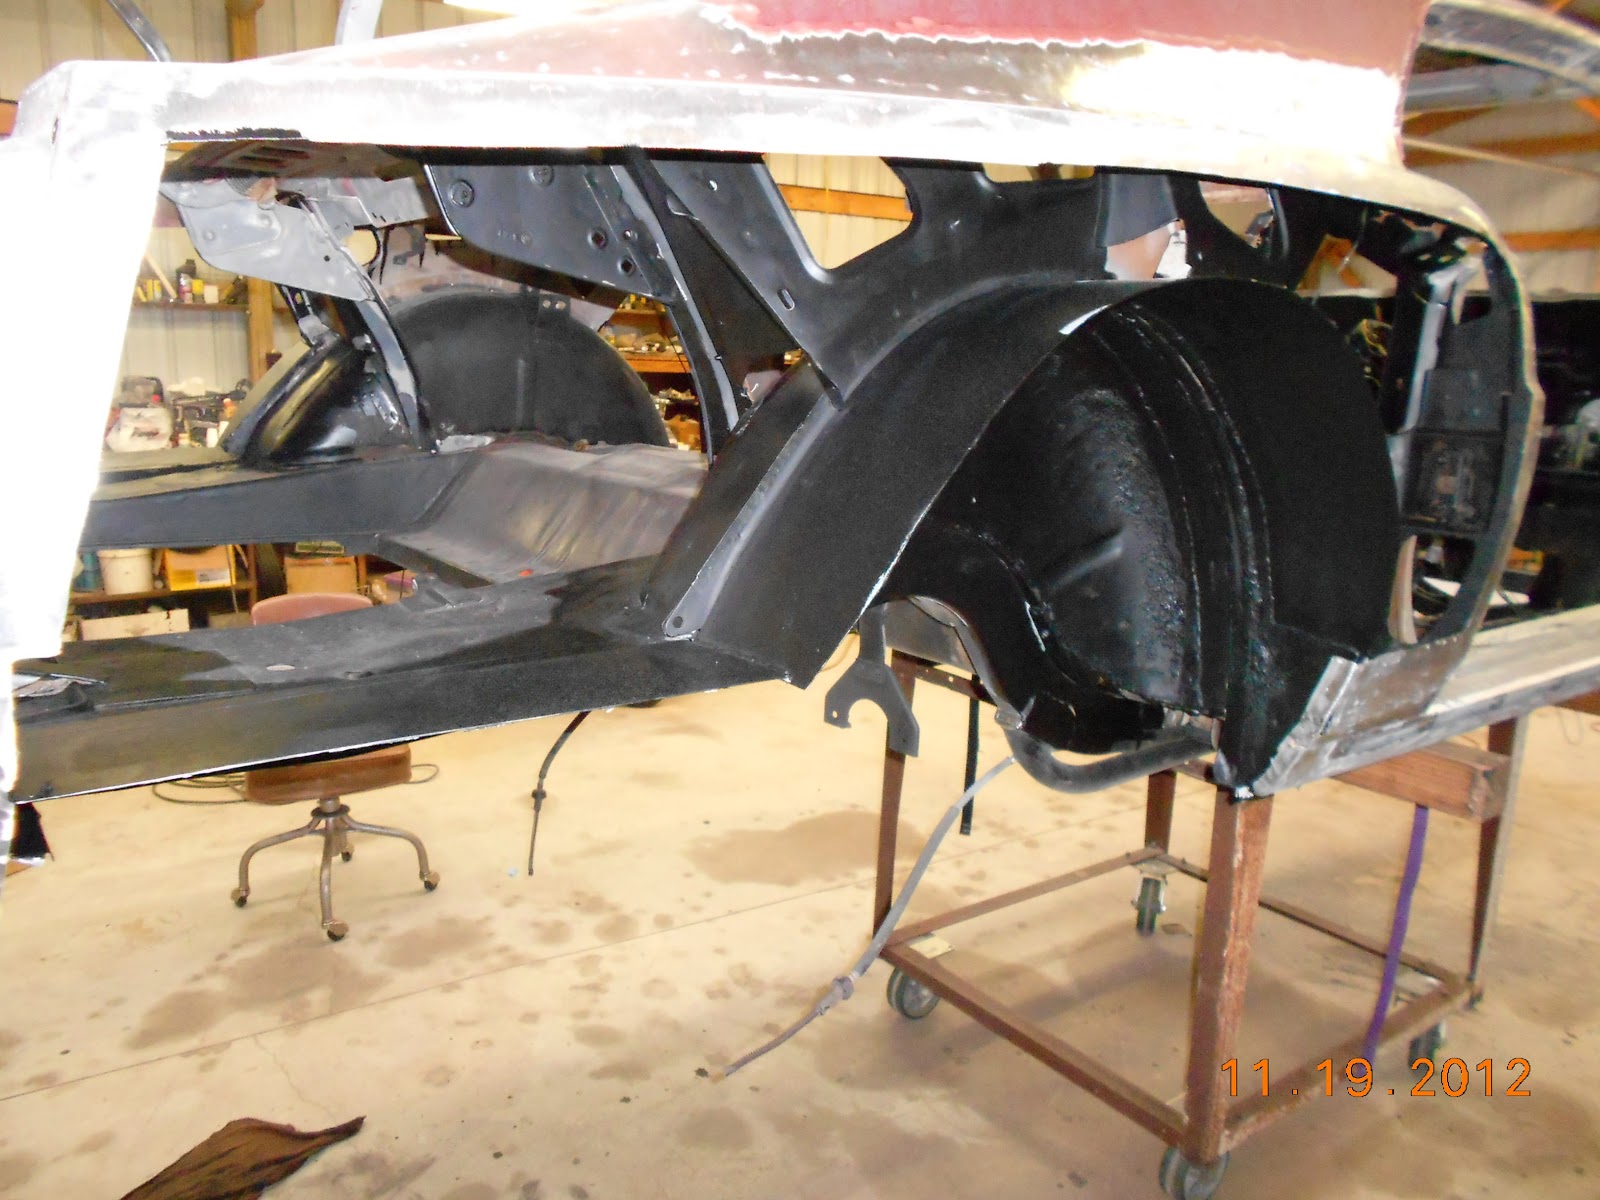
New custom outer wheel house and trunk close out.

New floor pans after welded in and before seam sealer.

No rust allowed!!!

Getting ready to bolt on the new front end components.

Anti sway bar, front frame rails, cross member.

Engine is looking pretty good.

In push mode, I still need to get that last quarter welded in place.


